Pretty Posts
This is the guide you all had been waiting for. The guide that will turn your PC into a Mac - well sort of. If you had wanted to try out the new Mavericks 10.9 but couldn’t because you did not have a Mac, then this is the guide for you. You can now install OS X Mavericks 10.9 on Windows (PC). This is not just for Windows but for all PC’s that are powered by Intel and in today’s world that is almost every computer out there. So check out the guide below on how to install Mavericks 10.9 on Windows.
Install Mavericks On Windows
This guide will teach you how to install Mavericks on a Windows PC or any other intel-powered PC. Although this guide is a bit technical and requires a few skills but remember that you are going to install Mavericks on a Windows-powered PC, which isn’t what it was designed for. So before attempting this guide make sure you thoroughly read each and every step, albeit being a long way. So let’s begin.
Before we actually begin the procedure on installing Mavericks 10.9 on Windows PC, there are a few requirements which you need to meet. Before attempting the guide, make sure you read the requirements.
Requirements
- A PC powered by intel (almost every PC now runs on Intel processors so you are safe, don’t worry).
- Download OS X Mavericks 10.9 (Free)
- Download UniBeast & MultiBeast.
- 8 GB or larger USB drive.
Procedure To Install Mavericks On PC
STEP 1: Download Mavericks 10.9 on a Mac and make sure it is downloaded to folder Applications. If you don’t have a Mac, you can ask your friends or family with a Mac to download it for you.
STEP 2: Insert your 8 GB+ USB to your Mac and open Disk Utility. Now select the USB you just inserted.
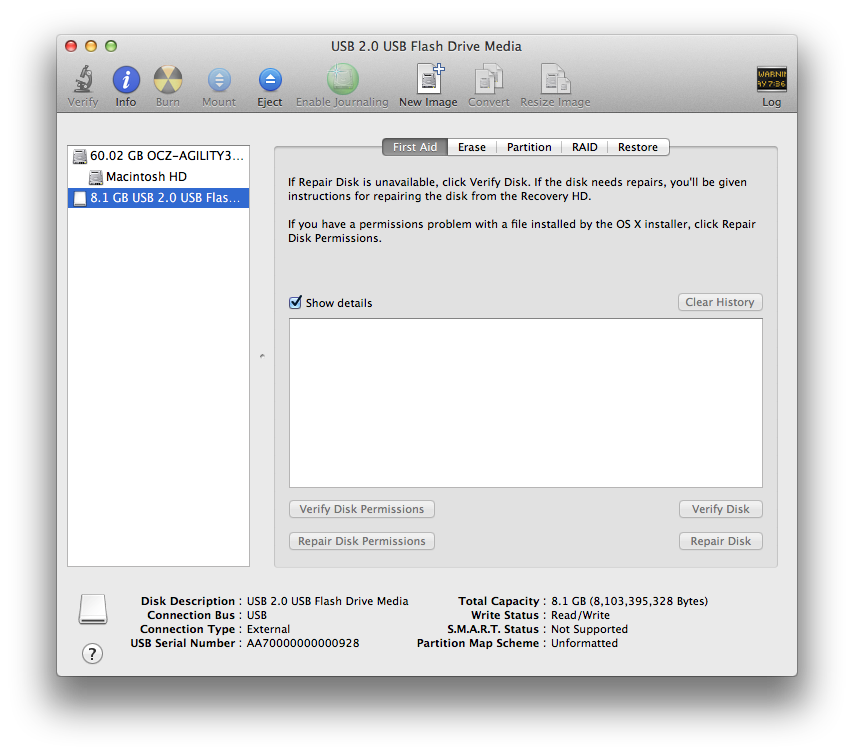
STEP 3: Click on “Partition” tab which is on the first row.
STEP 4: Now click “Current” and choose “Partition 1”.
STEP 5: Click on “Master Boot Record”.
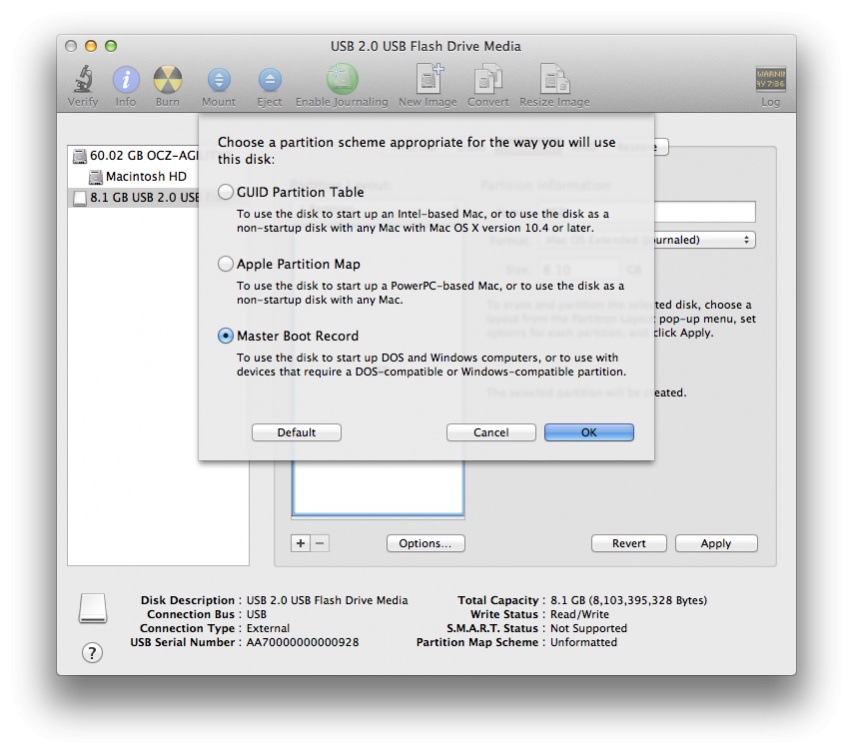
STEP 6: Now fill the name as “USB” and format as “Mac OS Extended (Journaled)”, click “Apply” then “Partition”.

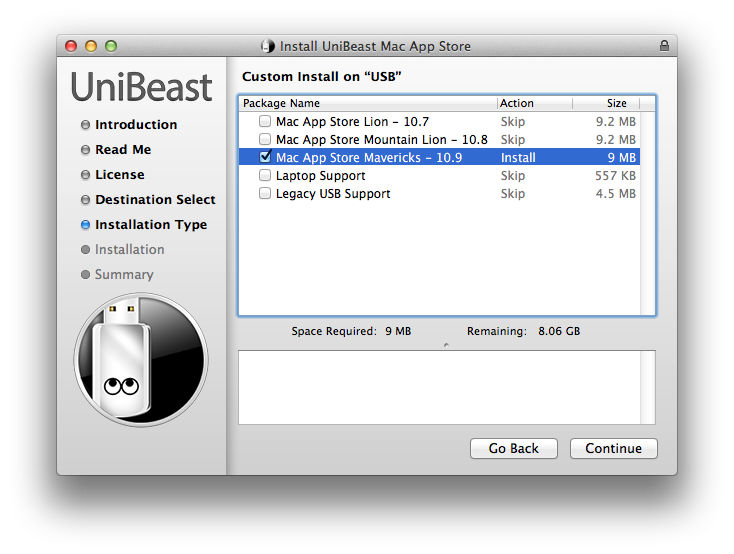
STEP 7: Download UniBeast from the requirements section above and run it.
STEP 8: Open UniBeast and click “Continue” until you reach the “Destination Select”.
STEP 9: Here choose “USB” and click “Continue”.
Note: If you are trying to install Mavericks on a Windows laptop then make sure you choose “Laptop Support” as well.
STEP 10: Now simply follow the on-screen instructions and finally click on the install button.
Note: UniBeast will now create a bootable USB drive. This is going to take sometime so just sit back, relax and wait.
STEP 11: Now move the MultiBeast (download from above section) to your USB drive.
STEP 12: Now remove that USB from your Mac and insert it into your Windows PC.
STEP 13: When you turn on the computer press the hotkeys to boot the device from the bootable USB you just created.
Note: The hotkeys can be either F12 or F8 (Gigabyte motherboard or ASUS motherboard respectively).
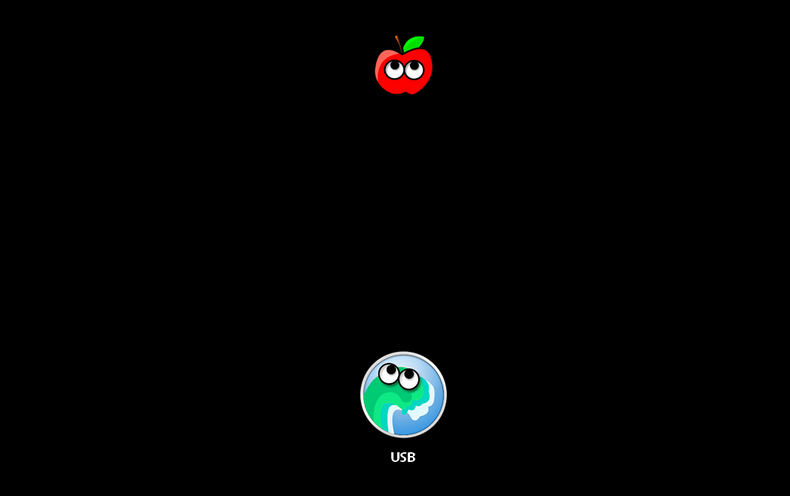
STEP 14: Now Choose “USB-HDD”. On the Chimera boot screen choose “USB” and press “Enter”.
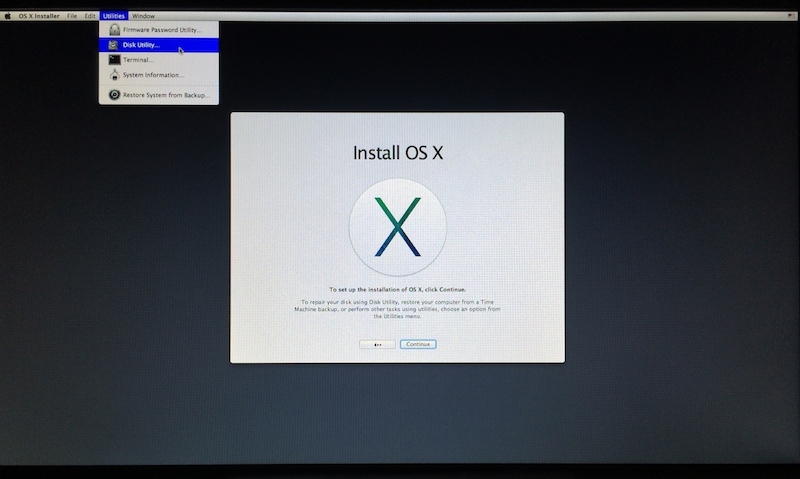
STEP 15: If you want a complete new Mavericks 10.9 on your Windows PC then you have to format the drive. To do this follow each step carefully:
- Go “Utilities” followed by “Disk Utility”.
- Select the HDD you want to install Mavericks into.
- Click Partition.
- Click Current and Partition 1 followed by options.
- Click GUID Partition method.
- For name write “Mavericks”, for format choose “Mac OS Extended (Journaled)”.
- Click “Apply” and “Partition”.
STEP 16: Close the Disk Utility and install Mavericks. When it asks you where to install choose “Mavericks”.
STEP 17: Reboot (restart) your system.
Note: Now you have to use MultiBeast.
STEP 18: Turn on computer and press the hotkeys.
STEP 19: Choose “USB-HDD”. At chimera screen choose “Mavericks” .
STEP 20: Now start-up MultiBeast.
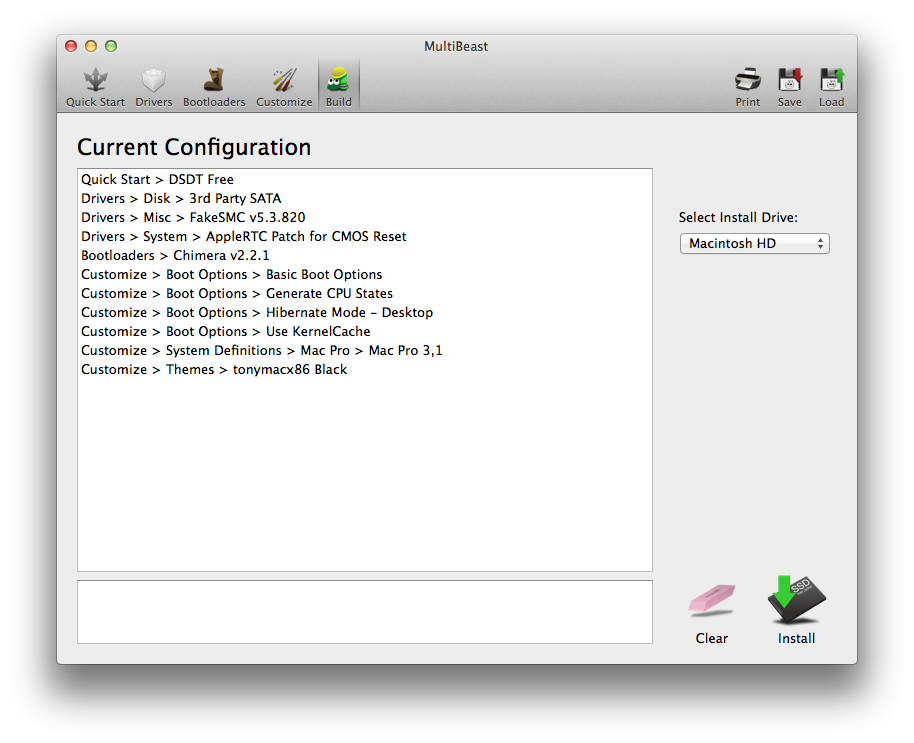
STEP 21: From here onwards it is pretty easy. Simply choose your drivers (which are required for your PC), or click on the “customize” button for advanced options. Once you are happy with the options, click on “Print” or “Save” to back up those configurations.
STEP 22: Once you are happy with everything click on “Build” followed by “Install”.
That’s it folks, if you have followed all the steps correctly you will have installed Mavericks 10.9 on your Windows computer, and yeah, you can show-off to your friends about this.
As always we are here to help. If you face any problems while trying to install Mavericks on Windows PC then simply leave a comment below and we will get to you.
Stay tuned at Maypalo and follow us on Twitter or join our Facebook Fanpage to keep yourself updated on all the latest News!


There is no mac user arround is it really required to use a mac to load the Os to my USB stick ?
Yes, Mac is required because you need to create a bootable USB drive.
No it’s not required, you can use dd on pretty much unix-based OS i.e. LINUX, HPUX or OS-X…
just to add an example:
dd -if /path/to/image.img -of=/disk/rdisk2 -bs=1MB
provided that /disk/rdisk2 is your USB drive
Do you have to use the USB to boot every time or do you just boot from it twice?
IIRC, the Uni/ Multi would be loader so you dont need to use usb stick next time
why is so? we can make bootable usb from other OS too!
can i have windows 7 installed as well as os x…how can i do that plsss help thanks…
so where do you exactly get the drivers for PC on MAC. I never found appropriate drivers MAC. Please explain point # 21
Hi! What happend if I try to install with a Toshipa laptop with AMD Processor?
It simply won’t work
I have successfully created the bootable usb but when booting im stucked at a white grey bg ang the colorful spinning wheel… Its been sitting there for 2 hours what do i do next.?
I’m facing the same.
Tried many types of boot
Tried all combinations of bios settings, still no luck
how to download UniBeast & MultiBeast.
Where do you put the downloaded Mavericks. Al this tut says is that i have to download it to applications.
Will doing this remove the windows partition and install osx on the side? or will it completely remove windows 7.
If I do this, is Windows still installed on my PC or not
Questions like “Will I still have Windows on my machine”?
No. Read this:
STEP 15: If you want a complete new Mavericks 10.9 on your Windows PC then you have to FORMAT the drive.
That means the drive is deleted, erazed, zeroed out and everything on it removed permanently.
It won’t work on all pc’s or notebooks… I’ve been trying to get it working for weeks now and my acer 7730G with every flag or kext settings will encounter kernel panics.
I think that “It will work on every Intel based pc or notebook” is deceiving and misleading!
Earlyer i had a Pc,with windows Xp on it,later on i was swichted to Ubuntu Linux only on the pc.
When my pc was dead,i have bought the Imac
I do’nt use Windows anymore,only some little programms with Winebottler (Windows Emulator on a Mac).
I’m very happy with my Mac and Mac OSX works great,i can do the same things as before with the pc.
Now i will only use Mac OSX,and i’m completely switched over to a Mac.
I do’nt like to buy a pc anymore.
So for user’s they have a pc or notebook who want to run OSX on i’t i’ts possible,with some notebooks or pc’s not all.
This has to do with the different kind of chipsets.
Apple has designed their computers with chipsets specialy designed to work with their own Mac OSX.
They have also their own software license to run OSX only on a Mac.
A Mac is not a PC just Family of The PC with another design,also a little expensiver.
That’s why Windows works easyer on a Mac,in coperation with Bootcamp.
So i’f you have the money to afford a Mac,do’nt hastytate and buy one.
Tried on a 2-year-old Toshiba Z835 (2.3-pounder with Core i5, 4GB RAM, 256GB SDD, running Win8). After Step 14, a white screen with the Apple logo came up for a minute, then the screen went blank, no activity on the USB drive. After an hour, still nothing, the USB (a Lexar) felt REALLY hot. Had to turn off the machine to prevent damage. Disappointed.
same here…
i cannot install multibeast after install maverick..i does not show multibeast window
i cannot install multibeast after installing maverick..it does not show multibeast window
I have successfully installed Mavericks but after installing MultiBeast, when booting without the bootable USB im stucked at a white grey background and grey spinning wheel… Its been sitting there for some time then the spinning wheel stoped, what do i do next.? windows is working properly
je n’arrive pas à me connecter avec mon wifi…une aide s’il vous plait ? j’ai un dell latitude e5410
impossible de faire fonctionner le wifi,j’ai un dell latitude e5410